How Much Water to Bring Hiking: Plan Each Route Segment
Plan on about 0.5 L of water per hour of moderate hiking and up to 1 L per hour in heat, then size your carry by route segment, verified refills and a fallback.
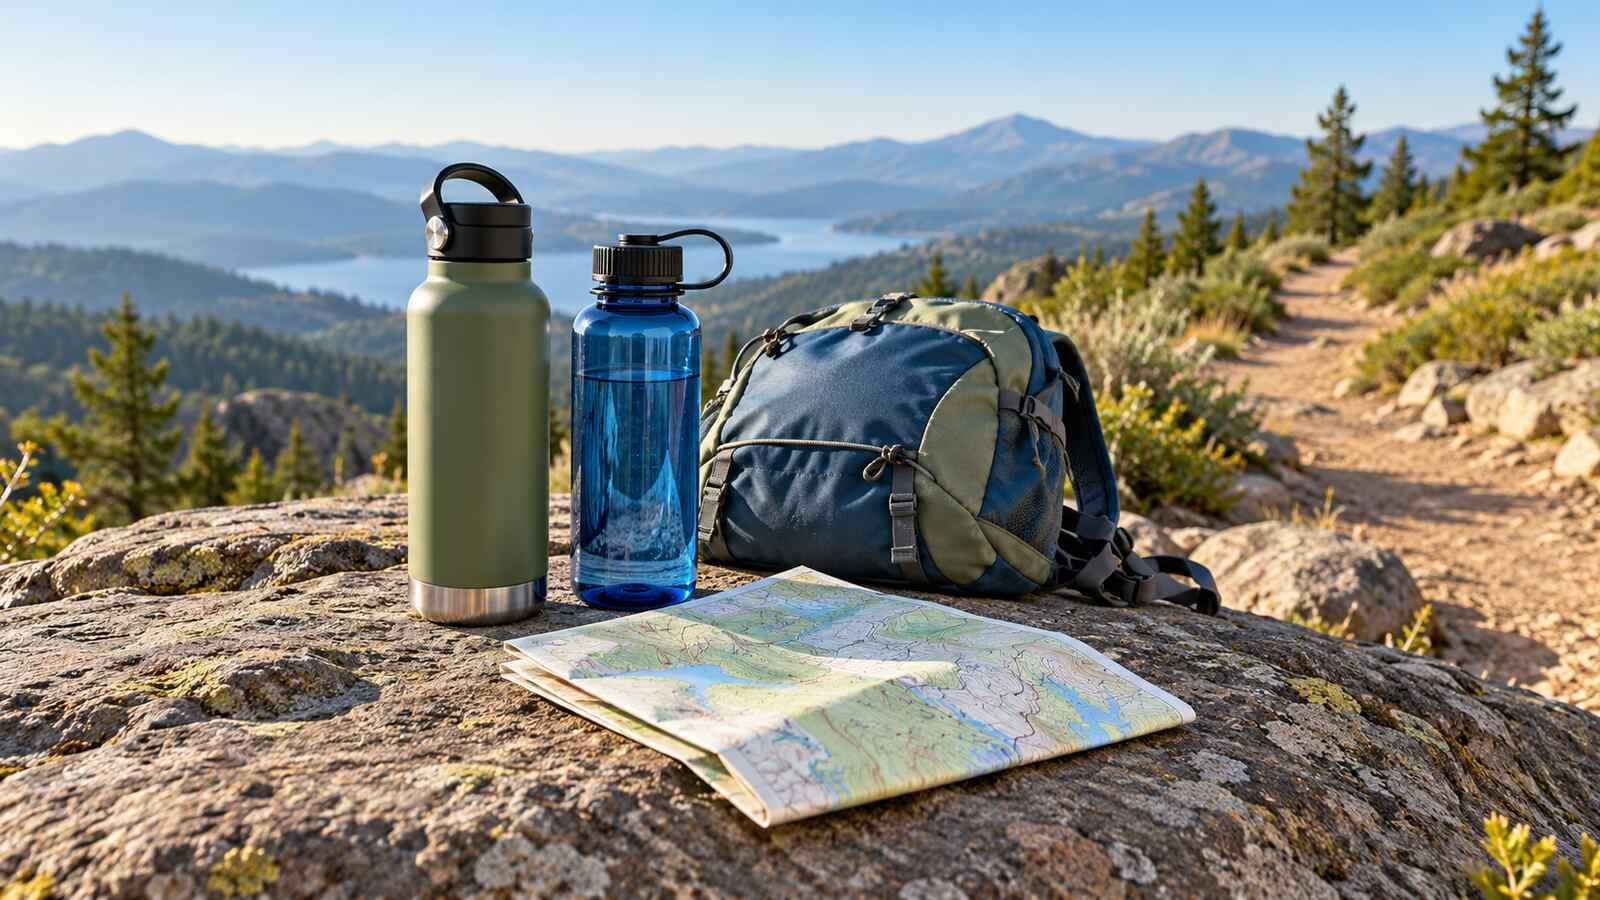
A trail map gives a distance, but the water you need to carry at the start also depends on time, heat, effort, access to drinking water, and what happens if a refill is unavailable. A fixed “one bottle per hike” rule ignores those differences. So does a rigid hourly drinking schedule. The useful question is: how much safe water must you have between each dependable refill, with enough room for a delay or route change?
Short answer: a common starting point is about 0.5 L (half a litre) of water per hour of moderate hiking in moderate temperatures, rising to about 1 L per hour as effort or heat increase. That is how the US Bureau of Land Management's Sloan Canyon newsletter puts it, and Saguaro National Park tells hikers to drink about 1 quart (roughly 1 L) per hour on hot, dry summer days. For a three-hour walk, that means roughly 1.5 L in mild weather and about 3 L in desert heat. Treat it as a first estimate: individual needs differ, and the rest of this guide turns it into a carry plan for your route and refills.
The National Park Service hiking guidance asks hikers to consider route, duration, heat and whether water sources are reliable. Its heat guidance says to locate drinking-water stations before a trip and bring enough for the whole route if none are available. Your park's current notices, forecast, physical condition and companions can change the answer. The example below is a planning exercise, not a personal fluid prescription or a report from a real hike.
Start with the route, not a universal bottle count
Write the route as segments: trailhead to junction, junction to water station, station to return point. Estimate the time for each from the actual map, elevation gain, terrain and your party's pace. A steep, exposed climb is different from a shaded flat path of the same distance. Check the day's temperature and any heat alerts. If local rangers publish a route-specific carrying requirement, use that instead of this example.
Mark each potential refill as verified drinking water, natural source requiring treatment, or unconfirmed. “Verified” means current park information or a direct check supports that a potable spigot or service is open, not that a dot appears on an old map. Even verified facilities can close unexpectedly. A stream is not a drinking-water station merely because its water looks clear.
Your container capacity and your starting volume are separate decisions. If the longest stretch without a dependable refill plus a contingency requires more water than your bottles hold, adding a reminder to drink will not create capacity. Choose larger containers, a shorter route, a confirmed refill arrangement, or a different day. Our summer heat guide covers other heat precautions that matter alongside water.
Route-segment water worksheet
Here is an illustrative arithmetic plan for one hypothetical day walk. Times, amounts and locations are invented to demonstrate the calculation. The assumed allowances are not instructions about how much any person should drink. Replace them with local advice and a plan suited to your pace, weather, medical situation and route. The hypothetical ranger-station tap is treated as verified only after checking its current status with the land manager.
| Segment | Assumed time and conditions | Assumed water allowance | Refill status at end | Carry decision |
|---|---|---|---|---|
| Trailhead to overlook | 60 min, mild and partly shaded | 0.4 L | None | Start with enough for later segments too |
| Overlook to ranger station | 75 min, moderate climb | 0.6 L | Potable tap currently confirmed | Reach it with reserve intact |
| Ranger station to trailhead | 90 min, exposed return | 0.6 L | None before finish | Refill before leaving station |
| Modest-delay margin | Short delay only | 0.4 L | Not a planned refill | Keep in reserve |
The three segment allowances add to 0.4 + 0.6 + 0.6 = 1.6 L. Add the example 0.4 L modest-delay margin and the route plan totals 2.0 L. If the station is currently confirmed and your plan uses it, you could start with 1.4 L of actual water and at least 1.4 L of container capacity for the first two segments plus margin: 0.4 + 0.6 + 0.4. At the station, refill to at least 1.0 L for the last segment plus margin: 0.6 + 0.4. Containers holding only 1.0 L would not fit the example's 1.4 L starting carry.
Now test the failed refill. After the first two segments, the 1.4 L starting carry leaves 0.4 L at the station. If its tap is closed, that is less than the 0.6 L assumed for the return, even before any margin: the 0.4 L margin covers a short delay, not a failed tap. Unless an independently verified exit or refill works from that point, start with 2.0 L of water and at least 2.0 L of container capacity, or change the route or timing before leaving; turning back from the station is not automatically shorter or safe. So the worksheet's real decision is confirmed refill or full no-refill capacity, and the 1.4 L start only holds with a working tap. Recheck the tap's status shortly before departure. Neither amount promises enough for a real hike of 3 hours 45 minutes, especially in heat.
Build a practical capacity and refill plan
Count the usable volume of every bottle and reservoir, not just the number of containers. Two 750 ml bottles hold 1.5 L; in the example they fit the 1.4 L starting plan, but not the 2.0 L no-refill fallback. A larger bladder or extra bottle adds capacity but also weight. A litre of water weighs about a kilogram before the container. Check that you can carry the resulting pack comfortably and still have room for food, clothing and other essentials.
Do not count a refill that is not currently confirmed. Look up park alerts, seasonal closures, operating hours and whether a tap is actually on your side of the route. A station at the end of a trail is not helpful if you need water before a long exposed climb. If the plan depends on one tap, run the failed-refill check from the worksheet before you leave.
For a group, each person's needs and carrying ability may differ. A shared large reservoir can be awkward if members separate. Make sure everyone knows where the safe water is, who carries treatment equipment if needed, and what the fallback is. This article cannot set a drinking amount for children, pregnancy, illness or medication-related fluid limits. Use individual medical guidance and current route instructions in those cases.
Natural water is a separate safety decision
A river or clear mountain stream is not automatically safe. The CDC warns that germ-contaminated water can look clean. If you are unsure whether a source is safe, treat it properly before drinking; CDC describes boiling as the most reliable way to kill germs and filtering followed by disinfection as the next approach when boiling is unavailable. Follow the exact filter and disinfectant product instructions, including contact time. Many portable filters do not remove every kind of germ.
Treatment also has limits: boiling or disinfecting does not make water contaminated with harmful chemicals or toxins safe. Choose another source if that is the concern. A natural source may be dry, inaccessible, affected by recent weather or subject to land-manager restrictions. Verify whether it exists and is legal to use, then carry the necessary treatment method and a fallback. Never swap “blue line on map” for “confirmed potable refill” in the calculation.
Our water quality guide discusses why visual clarity is not a safety test.
Avoid both running short and forcing excess water
Carrying enough capacity is not the same as forcing yourself to consume a predetermined volume. Heat, duration and exertion can raise fluid needs, while drinking beyond what your body needs can also be dangerous. Grand Canyon National Park cautions against forcing fluids because overhydration can cause a serious salt-balance problem called hyponatremia. That park also emphasizes food, rest and responding to thirst. Other NPS guidance stresses drinking regularly in heat. Follow the specific park's current advice and your own medical instructions rather than borrowing a single number from an unrelated trail.
Take food and breaks, especially when the route is long or hot. Salty snacks may be part of a park's heat plan, but they are not a reason to drink unlimited water. If someone becomes dizzy, confused, very weak, nauseated, or unwell, stop the hike and seek appropriate help rather than trying to fix an unknown problem by rapidly drinking a large volume. Our electrolytes guide explains the broader water-and-salt question without turning a trail worksheet into a treatment plan.
Before-you-leave checklist
- Route and weather: note expected segment times, climb, shade, heat alerts and the latest park notice. Adjust or cancel for conditions beyond your plan.
- Refill status: distinguish potable taps confirmed open today from natural sources requiring treatment and old map markings.
- Capacity: check the water you start with and the bottle capacity separately. If the plan depends on one tap with no independent fallback, carry the no-refill amount from the start.
- Treatment: if natural water is part of the plan, bring the appropriate working equipment and know its instructions; do not assume treatment fixes chemical contamination.
- Decision point: agree what happens if a source fails or the weather turns, and where you would shorten the route. If there is no safe fallback, change the route before departure.
- Food and support: carry food and standard hiking essentials, and tell someone your route and expected return when appropriate.
After you return, logging what you actually drank in Water Tracker may help you compare trips; one day of data is not a prescription for the next trail.
Common questions
Is one litre per hour the rule for every hike?
No. One litre per hour is the hot or strenuous end of the range. A common ballpark is about 0.5 L per hour for moderate hiking in moderate temperatures, rising toward 1 L per hour with heat or harder effort, as the BLM's Sloan Canyon guidance puts it; Saguaro National Park uses about 1 quart per hour for hot, dry summer days. Adjust for your pace, the route, current park advice and any medical fluid limits. The worksheet's values are illustrative arithmetic, not a universal schedule.
Should I rely on a stream shown on a map?
Not without checking availability and treatment. Clear water may contain germs; a filter may not remove all of them, and boiling does not solve harmful chemical contamination. A dry or inaccessible source gives you no water. Confirm conditions and plan the no-source branch.
How much should I carry if there is a refill station?
Enough to reach the confirmed station with margin, then enough after refilling for the next segment. In the invented worksheet that is 1.4 L at the start, in containers holding at least 1.4 L, and at least 1.0 L after the station. If the station is unconfirmed, or the tap could fail with no independent exit or refill, start with the full 2.0 L in containers holding at least 2.0 L, or change the route. These are capacity examples, not personal drinking advice.
Does drinking more always make a hot hike safer?
No. Too little water can contribute to heat problems, but forcing excess water can lead to dangerous low sodium. Rest, food, route changes and current park instructions matter. Seek help for concerning symptoms rather than trying to correct them with an arbitrary water volume.
A sound hiking water plan is a route plan: know the next segment, verify the next safe source, fit enough in your containers, and decide what happens if the source fails. Record what you actually drink in Water Tracker if it helps you review your routine, then plan the next walk from its real conditions, not a fixed number.
Disclaimer: This article is for informational purposes only and does not constitute medical advice. Consult a healthcare professional for personalized guidance.