How Often to Wash Your Water Bottle and Clean Every Part
Build a simple water bottle cleaning routine: wash the bottle, lid and straw, dry every part, and check the care instructions for your own reusable bottle.
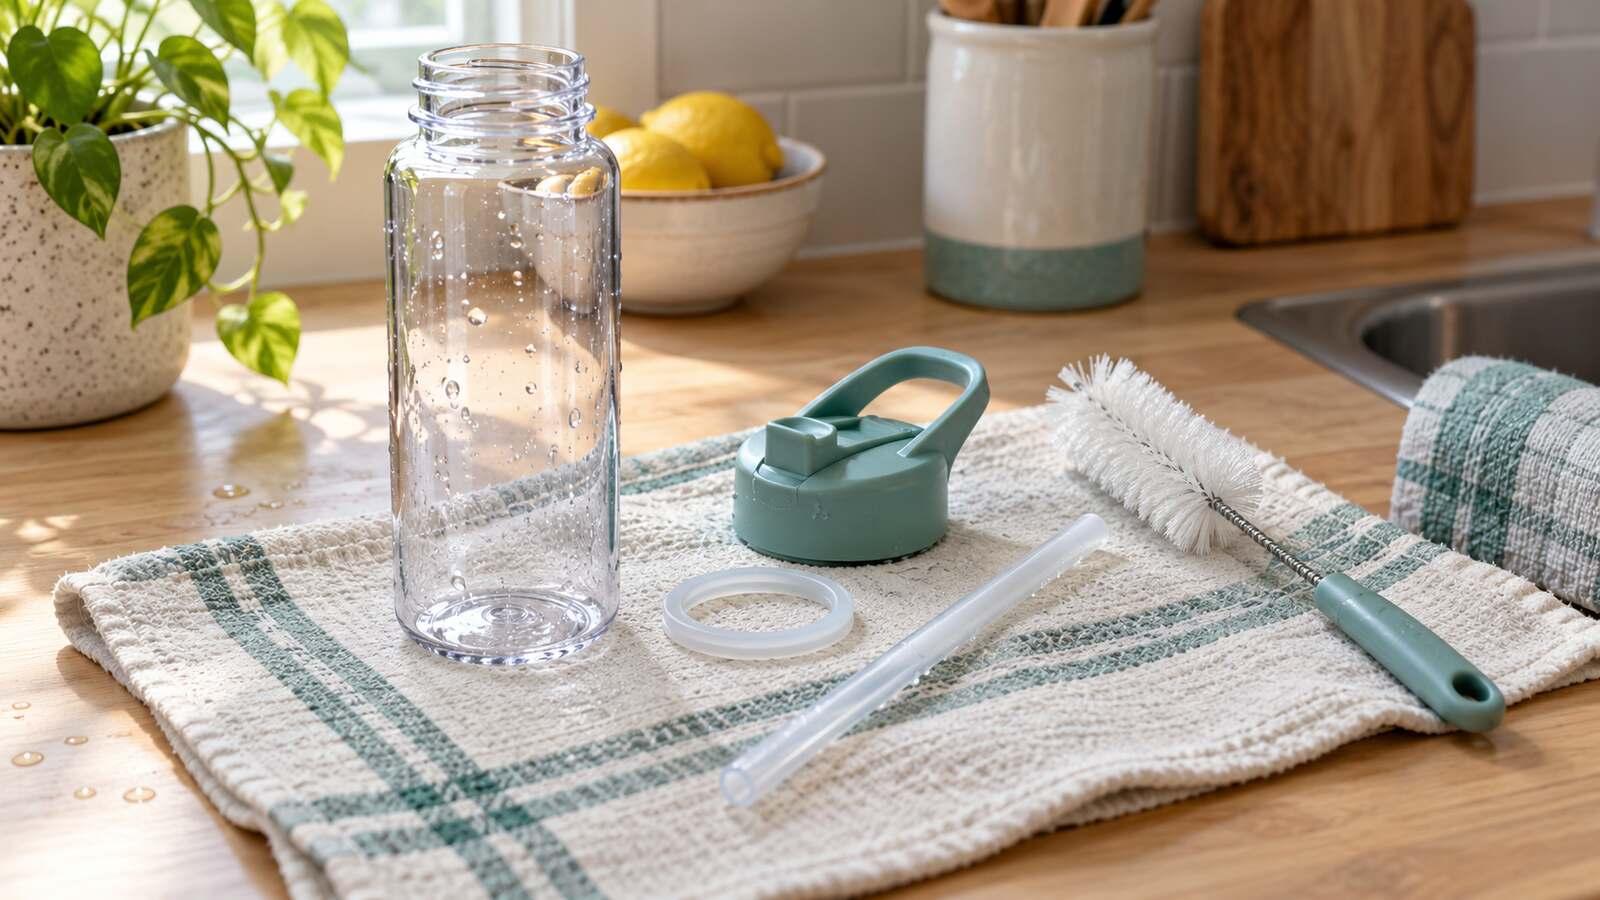
You finish the water in your bottle, rinse it at the sink, and set it beside the keys for tomorrow. The body looks clear. The lid still has a drinking spout, a seal, and perhaps a straw you cannot see through. What counts as cleaning that bottle, and how often should you do it?
The useful answer is a repeatable routine, not a magic number of days. Cleveland Clinic's bottle-care guidance recommends rinsing after each use, considers a quick soap wash after use a cautious choice, and calls for taking apart and scrubbing removable parts at least weekly. Check your own bottle's care instructions before removing anything. The parts and materials vary, and so do the cleaning methods their makers allow.
A routine you can actually repeat
Use this as a starting checklist for a reusable bottle you fill with water:
- After drinking: Empty leftover water and rinse the bottle and drinking opening. A rinse clears loose residue; it is not a substitute for washing.
- As part of regular use: Wash the bottle and accessible lid surfaces with dish soap and a suitable brush or sponge. A quick soap wash after use is the cautious option in Cleveland Clinic's advice.
- At least weekly: If the maker says the parts come apart, remove the straw, gasket, and other removable pieces. Wash and rinse them separately.
- Before putting it away: Let the body and parts dry fully. Reassemble only when the hidden surfaces are dry too.
If you put anything other than water in the bottle, notice residue, or leave the bottle closed while damp, do not wait for a calendar reminder to inspect and wash it. This is a practical cleaning decision, not a claimed medical risk threshold. A bottle that looks clear from above can still have a spout or seal that needs attention.
Place washing next to the action you already do. For example, when you refill your bottle for the next day, check whether it first needs a soap wash. If you use Water Tracker, a hydration reminder can prompt a refill, while the bottle itself still needs your separate care routine. Our guide to drinking more water covers the refill habit; this guide handles the container.
Clean the bottle body according to its material
Start with the maker's instructions for your particular bottle. Look for the permitted washing method, whether the body is dishwasher safe, and whether you can remove the lid components. A rule printed for one insulated steel bottle should not be copied onto a plastic, glass, or differently finished steel model.
For a body the maker permits you to hand-wash, empty it, add dish soap and water, and scrub the interior with a bottle brush that reaches the bottom and shoulder. Pay attention to the threaded rim and the surface that meets the lid. Rinse until no soap remains. If a narrow opening makes it hard to see inside, use a light and turn the bottle slowly. Repeat the wash if you can still see residue.
Avoid assuming that a vigorous shake with water reaches every surface. A brush gives you a way to contact the inner wall and the join near the mouth. Use a tool that fits without scraping a finish or forcing it through a narrow neck. If the care guide specifies a different brush or forbids a cleaning method, use that instruction.
An insulated body, a painted exterior, and a removable cap can have different care rules even though they arrived in one box. Check each component separately. This matters most when a label says only one part is dishwasher safe. If the instructions are missing, find the model name on the bottle or packaging and consult the manufacturer's care page before trying a heat or chemical treatment.
For questions about the water you put in the clean container, read our tap, filtered, and bottled water guide. Cleaning the container and choosing a water source are different tasks.
Give the lid, seal, and straw their own wash
The lid is often a small assembly, not one smooth piece. Inspect the drinking opening, the underside, threads, movable spout, and any visible gasket. Read the manual before pulling a seal or dismantling a hinge. A part designed to lift out can be cleaned separately; a fixed part can be damaged if you pry at it.
The Hydro Flask guide for its Flex Straw Cap provides a useful model-specific example. It tells owners of that cap to remove the straw and seal, wash the pieces with hot soapy water, use a straw or detail brush, and dry them fully. It also says that particular cap is safe on a dishwasher's top rack. Those steps show what thorough care can look like, but the top-rack permission belongs to that cap, not to every straw lid.
If your own straw is removable, run a brush suited to its diameter through its full length, then rinse it. Wash the spout and the channel it connects to if those areas are accessible under the product instructions. A thin straw that will not release its residue or cannot be cleaned as directed may need replacement rather than improvised tools that scratch or deform it.
For a removable gasket, wash both the gasket and the groove where it sits. Rinse and dry each one before pressing it back into the correct position. Check that it lies flat and seals as intended. If a seal is torn, warped, or no longer seats properly, consult the maker for a compatible replacement. Do not use a leaking lid just because the bottle body is clean.
Rinse, dry, and store every part
Drying is part of the routine, not an optional finishing touch. Cleveland Clinic advises drying the bottle completely after cleaning. Set the open body where air can circulate and leave separated parts out until their recesses are dry. A towel may dry broad surfaces while leaving water in a narrow straw or gasket channel, so inspect those areas before assembly.
Here is a kitchen-counter checklist you can use without buying a special cleaning kit:
| Part | What to check after washing | Before storage |
|---|---|---|
| Bottle body | Bottom, shoulder, mouth, and threads look free of residue | Interior is dry; leave open while it finishes drying |
| Lid and spout | Both sides and accessible channels are rinsed | No moisture trapped in a closed drinking opening |
| Straw | Brush reached the inside if removable | Water has drained; both ends are dry |
| Gasket | Groove and seal were cleaned separately if removal is allowed | Seal is dry, intact, and seated correctly |
For a bottle you use each day, it may be easier to wash it after the final use of the day than to put it away dirty and face the job in the morning. If it has a complicated lid, keep the disassembled pieces together in a clean place so you can put them back correctly.
What if it smells or you see residue?
Stop filling the bottle long enough to inspect it. Empty it, take apart only the pieces meant to be removed, and wash the body and components according to their instructions. Concentrate on the areas a rinse misses: the straw, drinking opening, gasket groove, and lid threads. Rinse and dry everything fully, then check again before using it.
Do not treat an odor as a cue for a universal bleach, vinegar, or boiling-water recipe. Manufacturers set different limits for finishes, seals, insulation, and dishwasher use. If the maker offers a specific remedy for your model, follow it. If visible residue remains in a part you cannot clean, or a component is damaged, ask the maker about a replacement part. Replacing a small seal or straw can be more sensible than forcing a tool into a mechanism that was not designed to open.
Cleaning is also a chance to check whether your bottle still suits your routine. A design with several inaccessible channels asks more of the person who washes it. If you are choosing a new bottle, look at the disassembly and care instructions alongside capacity and insulation. A bottle you will actually wash and refill is more useful than one with a clever spout you avoid cleaning.
Common questions
How often should I wash a bottle used only for water?
Rinse after each use. A quick wash with soap after use is a cautious choice; at least weekly, clean the removable lid, straw, and gasket parts thoroughly, following the owner's manual. These are practical care intervals from Cleveland Clinic, not a guarantee that waiting exactly seven days is safe for every bottle and use pattern. Wash sooner whenever you see residue or the bottle needs attention.
Can I put my reusable bottle in the dishwasher?
Only if the care instructions for that specific body or component allow it. Hydro Flask says its Flex Straw Cap is top-rack dishwasher safe, but that says nothing about another cap or the bottle attached to it. Check the model's instructions part by part. If they say hand-wash, hand-wash.
How do I clean a stainless-steel bottle?
Use the instructions for that bottle, including any distinction between the steel body and its lid. Where hand-washing is permitted, soap, water, and a bottle brush let you reach the interior and mouth. Rinse and dry it fully. Stainless steel alone does not tell you whether the finish, lid, or insulation can go in a dishwasher.
Do I have to pull out the rubber seal?
Remove it only if the manufacturer designed it to come out and explains how. If it does, wash the seal and its groove separately, dry both, and seat the seal correctly. Forcing a fixed or fragile seal can turn a cleaning task into a leak.
Is rinsing enough when the bottle looks clean?
A rinse is useful after use, but it does not scrub a straw, spout, or gasket groove. Make a soap wash part of your regular routine and inspect the parts the bottle opening hides. If you are building a broader daily drinking habit, the 30-day hydration challenge can give the refilling side a simple structure.
The easiest bottle-care plan fits beside your existing refill habit: rinse after use, wash the surfaces you drink through, give removable parts a separate clean, and let everything dry. Check your bottle's own instructions whenever a step involves disassembly, heat, or the dishwasher.
Disclaimer: This article is for informational purposes only and does not constitute medical advice. Consult a healthcare professional for personalized guidance.


